Ph
What is a proper
pencil grip?
Why is a proper pencil grip important?
The most common pencil grip taught is the tripod grip. This is made by pinching the base of the pencil with the thumb and pointer finger and resting the shaft of the pencil on the tip of the middle finger. Sometimes, a child will use the thumb, pointer, and middle finger to pinch the pencil. The pencil will then rest on the tip of the ring finger. This grip, known as the quadropod grip, is also acceptable.
Children who learn to hold a pencil properly avoid writing fatigue and hand cramping - both of which can cause pain. Proper pencil grip supports good spacing, neatness, and speed, all of which make writing easier and more pleasurable for the child.

In less than a minute, watch how you can promote a proper pencil grip with your child!
Activities to Support Handwriting
When your child uses a pencil or any other writing tool to write, there is more happening than meets the eye! Children must incorporate body awareness, control, sizing, speed, placement, memory, and orientation when learning how to write. Use the activities below to help your child develop these critical skills.
Fine Motor Skills
Proper pencil grip requires fine motor skills of the fingers, specifically the pincer muscles. Encourage your child to develop a strong pincer grip by grasping small objects such as marbles, coins, or beads between his/her thumb and pointer finger.
-
Roll playdough between the thumb and pointer finger to strengthen the muscles
-
Practice buttoning and snapping clothes items
-
Tear small pieces of paper using the fingertips
-
Attach and detach clothespins to various objects
-
Use spray bottles or squirt guns
-
Pop bubble wrap
-
Use an eye dropper or turkey baster to transfer water from one cup to another (add food coloring to the water to make it more fun)
-
Trace patterns with the pointer finger or a writing tool such as a crayon or pencil
Ideas courtesy of http://therapystreetforkids.com/fm-pincergrasp.html

More
Ideas
to Try
Finger & Hand Awareness
Students who have strong body and spatial awareness as well as directionality transition more easily into the demands of learning to write. The activities below will help your child develop these important prewriting skills!
-
Play Simon Says and include direction & spatial commands (left, right, top, bottom, etc.). Add in gross motor commands (hop, skip, jump,) to help promote these skills.
-
In addition to verbal counting, add in finger counting! Have your child mirror you holding up fingers as you count out loud. Many children have difficulty holding up fingers as they count and practicing will help.
-
Sing Where is Thumbkin (substitute Tall Man with "middle finger" as that is what students will learn in school). Find the lyrics to this and other finger-play songs here. Lots of fun!

Books That Support Pre-Writing Skills


Need more?
Contact your child's teacher for additional information.
Thank you for visiting our site


Thinking about linking this page to your own site? Please let us know by contacting kkerr@homercentral.org.
Is Your Child Already Writing Letters?
Many children come to Kindergarten already writing a few letters, especially those letters in their name. Without proper instruction, some writing habits can be difficult to change once formal schooling begins. Be on the lookout for these common handwriting difficulties and learn what to do if you see your child experiencing any of them.
-
IF your child grips the writing tool awkwardly THEN watch the video above to help promote a proper tripod grip.
-
IF your child has trouble holding the paper still THEN use a clipboard or piece of tape to secure the paper or show them how to use the "helper" hand to keep the paper in place.
-
IF your child writes letters starting from a bottom position THEN use primary lined paper (see below) and show how to start from the top position/line. Incorrect formation for printing can lead to difficulties in learning cursive writing in Grade 2.
-
IF your child writes from right to left THEN model and reinforce how all writing,
like reading, goes from left to right.
-
IF your child's letter writing is so big it takes up the most of the page THEN
use primary lined paper to help him/her visualize smaller versions of letter
formation. Use lined paper that gradually decreases the amount of writing
space until his/her writing is a more acceptable size.
-
IF your child's writing has no spaces between words and is one long string of
letters THEN show him/her how to put a two-finger (pointer and middle) space
after each word.

I love to write!
The Language of
Letter Formation
When learning proper letter formation, your child will benefit from hearing and saying how letters are formed while simultaneously writing letters. The language of letter formation or the verbal pathway is something you can do with your child at home.
Click on the PDFs below to access the verbal pathways for both lowercase and uppercase letters that your child will be learning in Kindergarten.

to Try
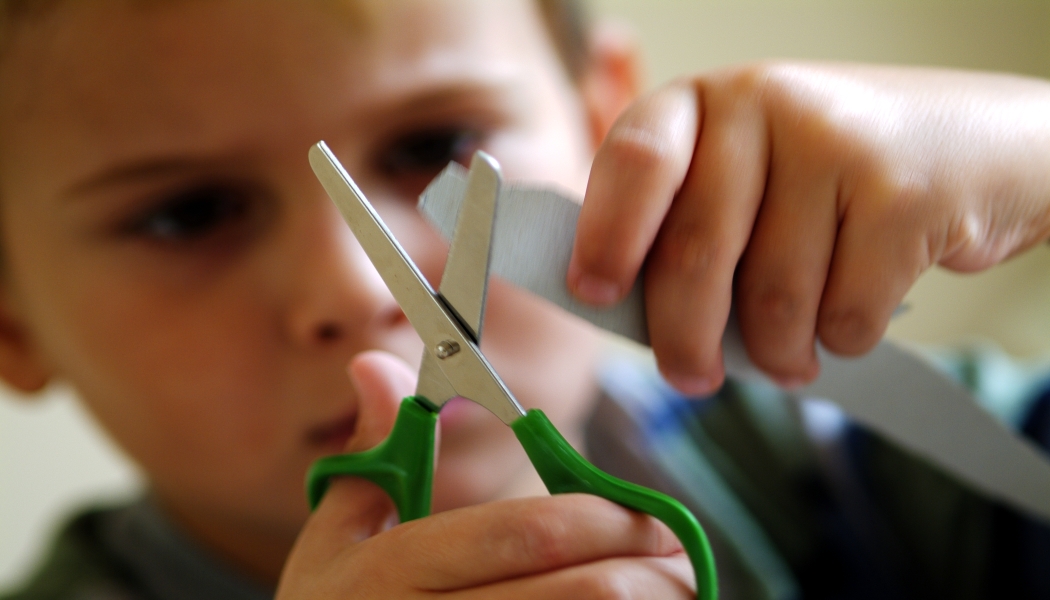
Cutting with Scissors!
It seems strange that cutting with
scissors can help with handwriting,
but it does!
Cutting with scissors serves to
strengthen the hand and finger muscles
which helps develop those fine motor skills
children need to grip a writing tool.
Plus, cutting and pasting is a staple in any kindergarten classroom so having experience with using scissors properly to cut paper makes these activities more enjoyable for your child.
Check out these fantastic tips for teaching your child how to use scissors properly!